Solar Panel Installation
Solar Panel Installation Guide
Clean energy is fast gaining traction at a time when greenhouse gasses and carbon emissions are wreaking havoc on our environment. Thankfully, India has kept up with the fast growth of clean solar energy and has started solar panel installation in industries and homes.
After the 10 steps are completed, Solar Panel Installation becomes much easier. Solar electricity is currently appropriate not just for business buildings but also for residential ones. Although the cost of installing a solar power unit has progressively decreased, you may always go the DIY route to keep costs low.
By following this basic guide to putting up solar electricity, you may save money by installing a solar photovoltaic (PV) system yourself. In this Solar Panel Installation Guide, we’ll discuss how to install a solar panel step by step in detail.
Step-by-Step Instructions for Installing Solar Panels
Solar panels can provide power for both business and residential use. In both cases, photovoltaic panels are mounted on the roof to capture as much sunlight as possible and create maximum power.
Step 1: Installing the Mount
The solar panel mounting brackets must be installed first. Roof-ground mounts or flush mounts may be used based on the application. This foundation gives stability and support.
The optimum direction to face solar panels in the Northern Hemisphere is south because it receives the most sunlight. East and west directions are also acceptable.
The mounting framework must be adjusted slightly. The tilt angle might be anything from 18 to 36 degrees. Many firms utilize a solar tracker to increase efficiency.
Step 2: Put the Solar Panels in Place
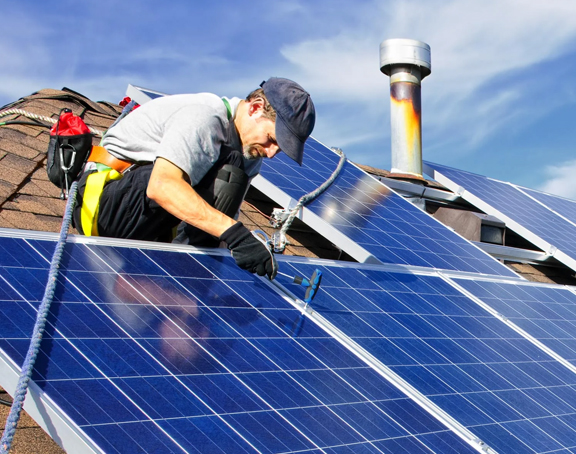
The solar panels must be secured to the mounting structure using nuts and bolts. The entire structure should be tightened properly to ensure durability and long life.
Step 3: Install the Electrical Wiring
Electrical wiring comes next. During cabling, universal connectors such as MC4 are used since they are compatible with most solar panels.
Series Connection: The positive (+) wire of one module is connected to the negative (–) wire of another. This improves voltage matching.
Parallel Connection: Positive (+) to positive (+) and negative (–) to negative (–). This keeps voltage constant across panels.
Step 4: Connect the Solar Inverter
The system must then be connected to a solar inverter. The positive wire is connected to the inverter’s positive terminal and the negative wire to the negative terminal.
Step 5: Connect the Solar Battery
The inverter is connected to the solar battery. Positive connects to positive, and negative connects to negative. This helps store backup energy.
Step 6: Connect to the Power Grid
The inverter must be connected to the grid using a standard plug and switchboard connection to distribute electricity.
Step 7: Turn On the Inverter
Once all connections are completed, switch on the inverter. Most inverters have a display showing power generation and usage.
And that’s it! Your solar system installation is complete. Enjoy free renewable green energy for years to come.
Avoid Common Mistakes in Solar Installation
Purchasing an Overpriced System
Always compare different solar panel types and pricing before choosing. Select a system that fits your budget.
Not Making a Checklist of Components
Create a checklist including solar panels, inverter, battery, and charge controller to avoid missing components.
Not Knowing System Size
Calculate your total power usage by adding wattage of all devices and usage hours. This helps determine the right system size.
If you follow these steps carefully, you can avoid common mistakes and ensure proper system performance. Choosing the correct wire size is also important to prevent overheating and ensure efficient power delivery.